*This post contains affiliate links which help me keep my blog up and running. You can check out my disclosure policy for more details.
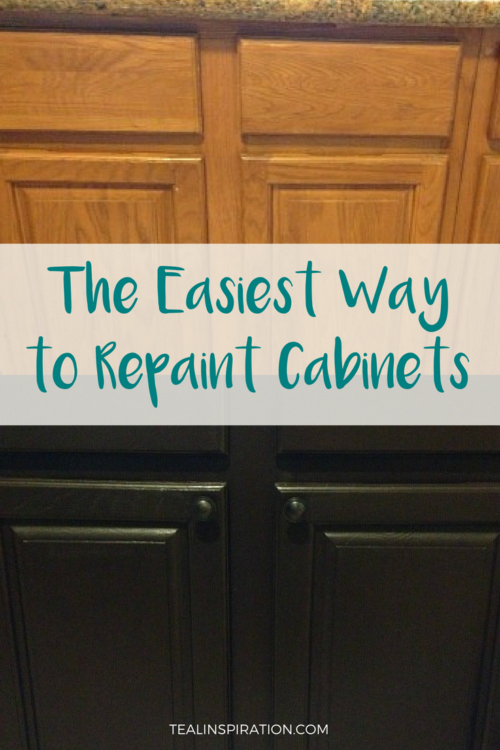
In my opinion, this is absolutely the easiest way to repaint cabinets. Yes, I’d even say the easiest ever way to re-paint kitchen and bathroom cabinets.
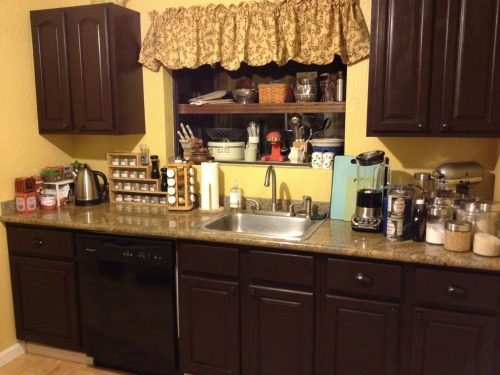
Our kitchen cabinets used to look like this: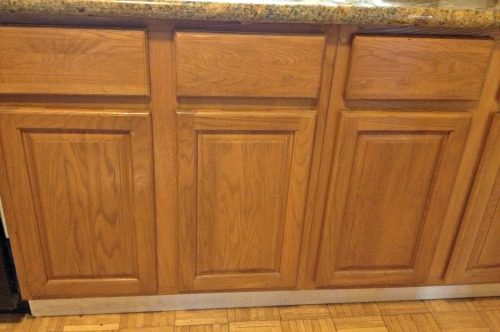
And now they look like this: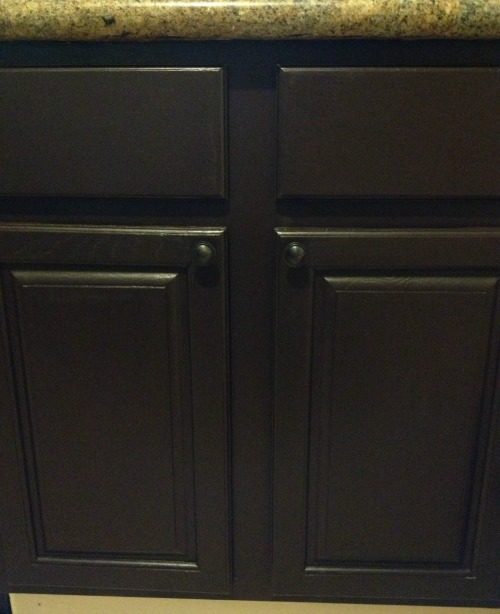
Impressive, right?!
So, how do you take cabinets like this and paint them? Well, I’m sure there are literally thousands of different ways to do it. But when you’re dealing with cabinets in the kitchen or bathroom, regular interior paint just isn’t going to give you the desired look or durability that you want. Think about it. All that water, hands constantly opening and closing those doors and just the amount of general wear and tear on a daily basis.
Rust-Oleum makes an awesome kit especially designed for painting kitchen (or bathroom) cabinets and this is what we used.
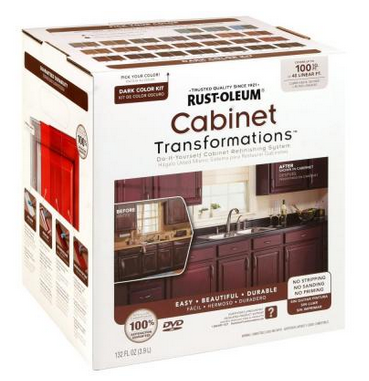
They have a kit for darker tints and a kit for lighter tints. We chose the darker one as we painted our cabinets using the Espresso shade. What makes this even better is that it even comes with a video with instructions on how to do the whole thing. Anyone can do it.
It’s a four step process and unfortunately, we did this entire process last year, before I started this blog and I don’t have the best pictures of the process, but I promise I will do a more in-depth post the next time!
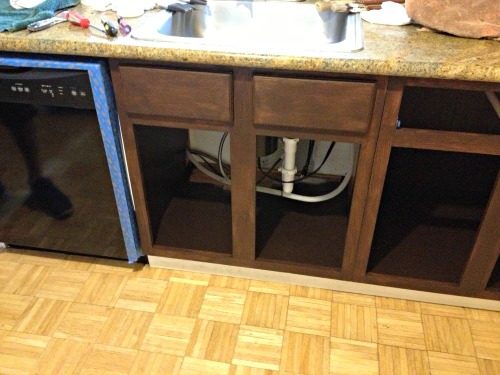
First, you take off the doors and all the hardware before you even begin with step 1. Every inch of surface then gets cleaned with soapy water and then you’re ready.
- Step 1 is the de-glosser, which roughens up the old finish so that the new paint will adhere properly. It’s also probably the least exciting part as you won’t notice much of a difference in the appearance, other than them looking even more dull. But it gets better, I promise!
- Step 2 is the Bond Coat, which is like paint with primer which is tinted to whichever color you have chosen. The cabinets and doors each get two coats of this heavy duty stuff. Now you will begin to see some amazing progress.
- Step 3 is the Decorative Glaze. Once the bond coat has fully dried, you apply a glaze and wipe off gently with a rag to give it that multi-faceted, finished wood-grain look. This step is optional, but it really makes a huge difference and gives a much more professional looking result.
- Step 4 is the Protective Top Coat. The decorative glaze has to dry overnight and then it’s time to apply the protective top coat. This is what keeps your cabinets protected against things like water, food and dirty hands/fingerprints. It also makes them nice and shiny.
We also added handles and drawer pulls, which our cabinets didn’t have at all previously. Beautiful, right?
We were so impressed with the final result (and so were my parents) that we also did our bathroom and a kitchen and a bathroom for two houses my parents were renovating.
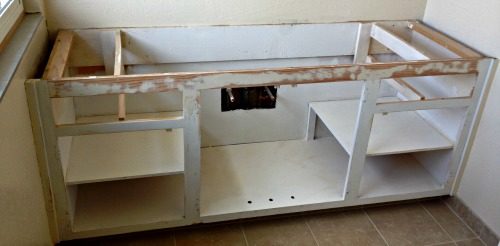
The bathroom cabinet had been painted white, probably some time in the 80’s at the very latest. Since it had many layers, from beginning in the 60’s when the house was originally built, it needed to be sanded a bit.
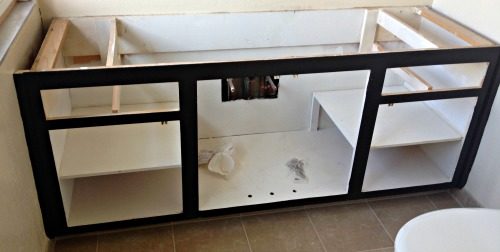
After the bond coat:
After the decorative glaze:
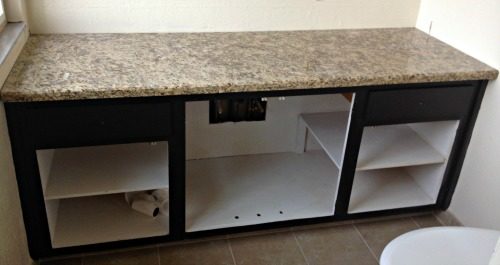 After the protective finishing coat:
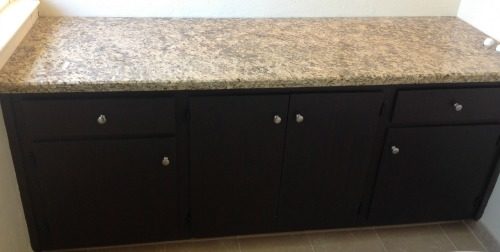
And voila! A brand new bathroom vanity for a fraction of the price.