Step Inside for a Pre-Renovation Tour.
We’ve been living in our new home for a little over a week now, amidst all of the updating so far, but today I’m going to share just the before pictures. This is what it looked like when we first picked up the keys and toured the house without any of the previous dwellers’ things inside.
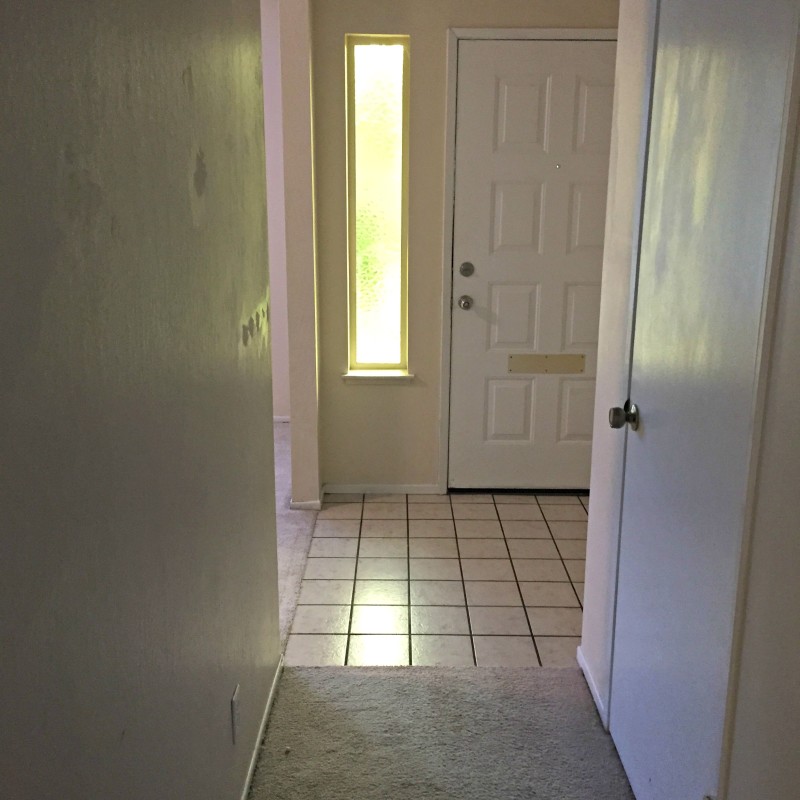
Entryway and Front Room.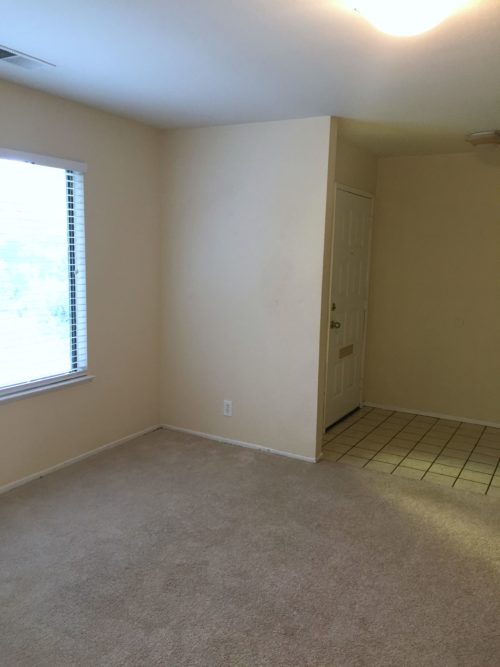
The house was built in 1981 and still had the original tile, which you can see was just gorgeous. The carpet was actually only four years old, but the people who had lived here before we bought the place ran a daycare out of here and well… the carpet actually looks much better in the pictures than it actually was. I’m not even going to get into that, just know that the very first thing we did was rip out all of the carpeting.
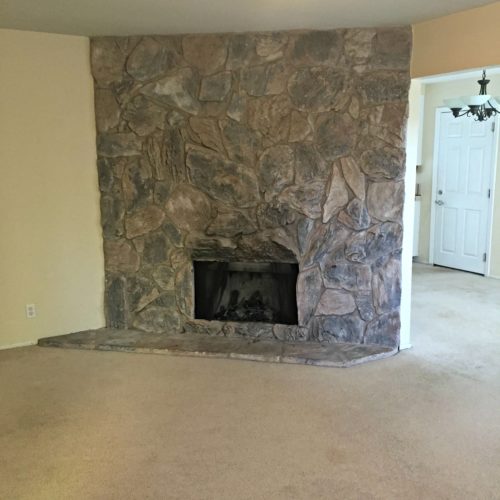
The stone fireplace is… dated, but not altogether bad. My dad thinks that if we hold out a little longer it’ll come back into style. We’re calling this room the front room, though it could perhaps be called a formal living room, or as a friend called it, “the kick back 70’s room.”
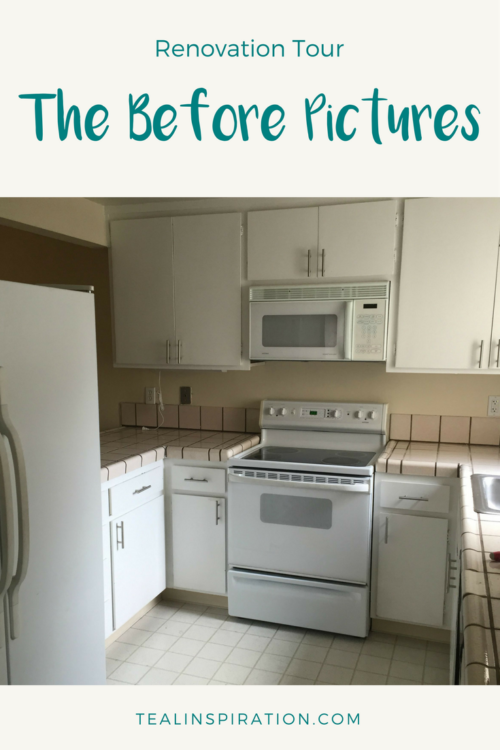
Kitchen and Living Room.

One of the main things that we loved about the place right away was the opening between the kitchen and the living room or family room. I know you thought I was going to say that tile, but no, it was that opening there.
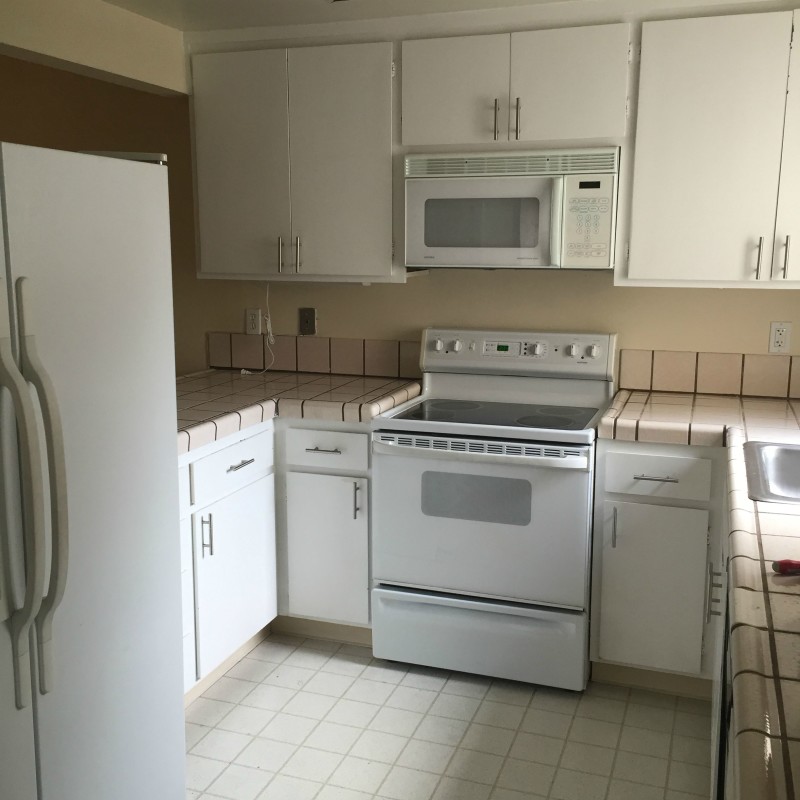
So, this is the kitchen prior to any updating from us. Luckily the appliances had been replaced since the 80’s (except for the washing machine and dryer which are in the garage and not pictured here.) We are planning to do much more updating to this space though.
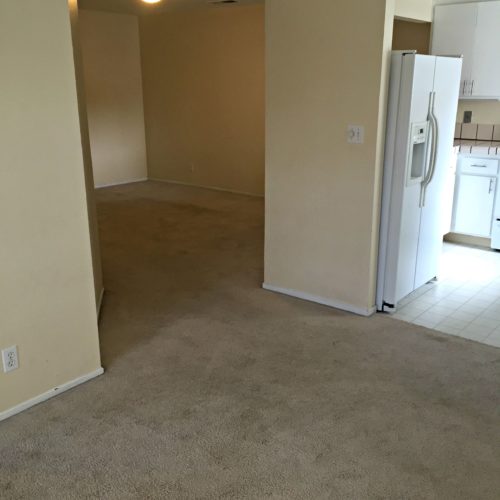
The kitchen is open to the dining room and living room which is great, even though the carpet and linoleum are not so great.
Dining Room.
The door you see there to the left is the door into the garage and then straight ahead is a sliding glass door which leads out to a small patio/yard.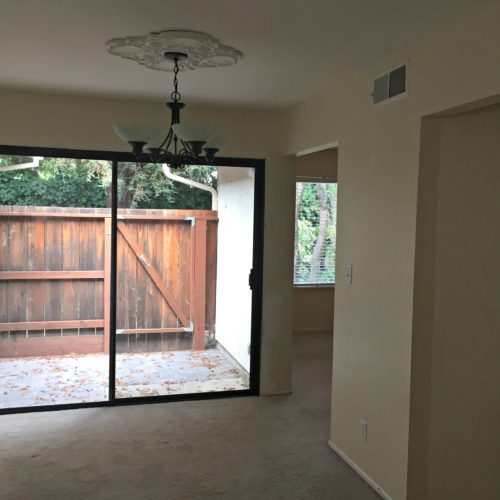
The dining room, like the rest of the interior was painted a sort of orange-yellow beige, which was the second thing to go after the carpet. And then there’s the ceiling medallion…
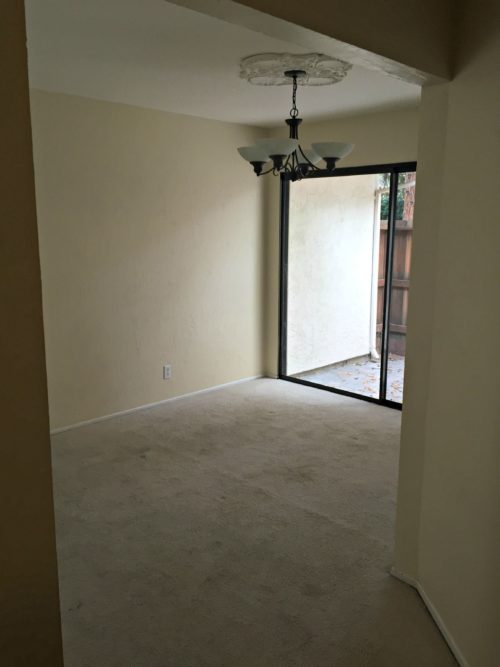
When we first saw the ceiling medallion, we thought, “Hmm… that seems a bit extravagant for this space…” and wondered why anyone would’ve decided to put that there. But we soon found out it was to cover up some sloppy wiring and we’re just grateful to happen to know a very good electrician who sorted it out, along with many other things we also discovered along the way. Thank you, Dad!
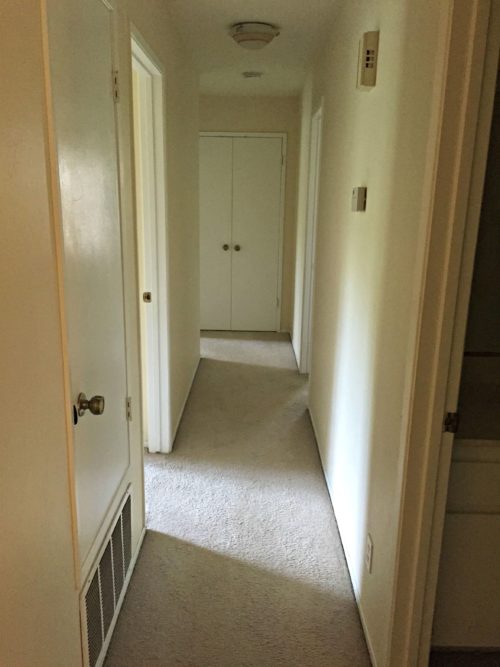
The hallway, which isn’t all that exciting aside from the fact that we have central heat and air! And a linen closet there at the end!
Main Bathroom.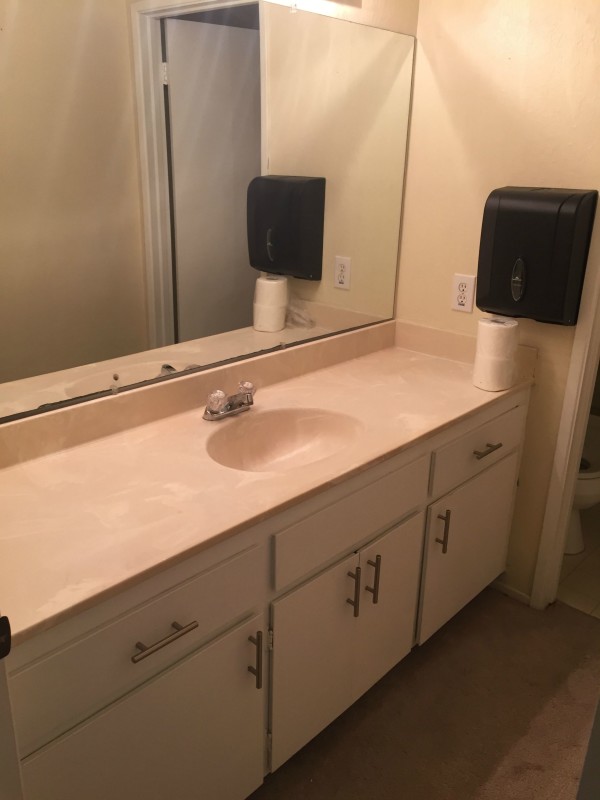
The main bathroom looks a bit like a public restroom with that commercial paper towel dispenser hanging on the wall. Don’t worry, it’s gone now. And so is the wall to wall carpeting along the floor in front of the sink. Yikes.
 There’s not really a whole lot more I can say about the before pic of this bathroom, but you’ll see in the weeks to come that we took out this extra door that was crowding the bath and toilet area.
Guest Bedroom.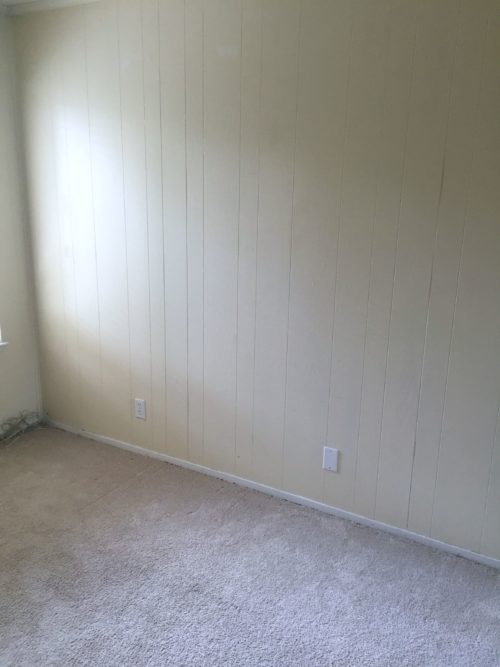
While working on this room, we referred to it as the panel room because of the paneling. The paneling is actual, real wood paneling and not that crappy looking fake stuff. It doesn’t look so wonderful here but once we painted it, well it really looks great. I can’t wait to post the rest of the pictures.
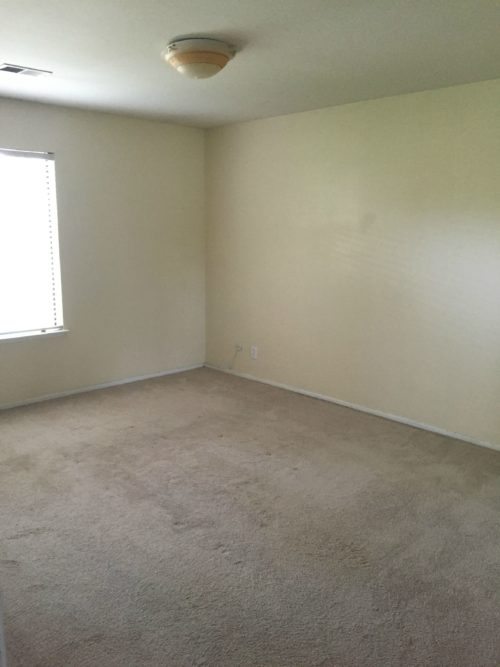
Home Office.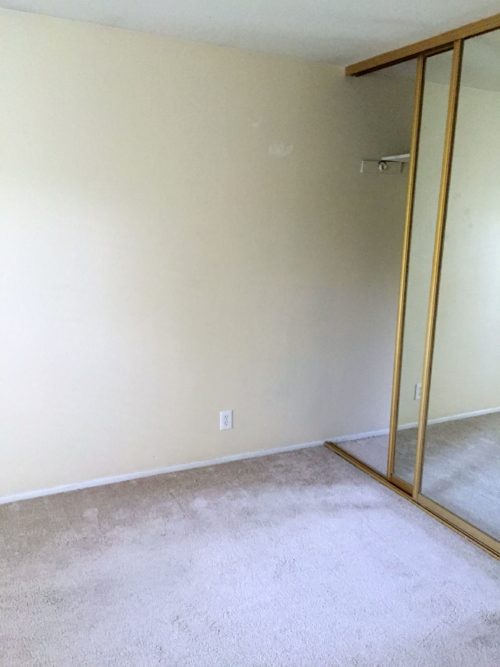
Since Brandon and I work from home, a home office is a major necessity and the bedroom we chose to use as our office is the last one at the end of the hallway. More pictures will be coming of this space soon as well!
Master Bedroom.
 The master bedroom is a very nice size and has two closets! (One of my favorite things about the room, lol)
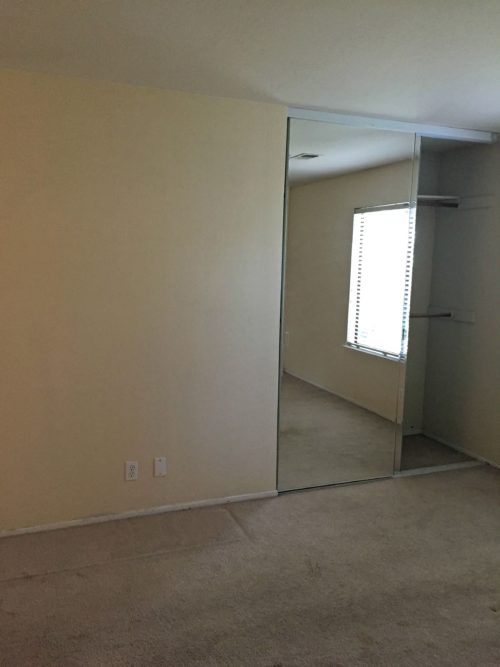
Here you can see what will eventually become my closet and some of the yucky baseboard that went out with the carpet.
Master Bathroom.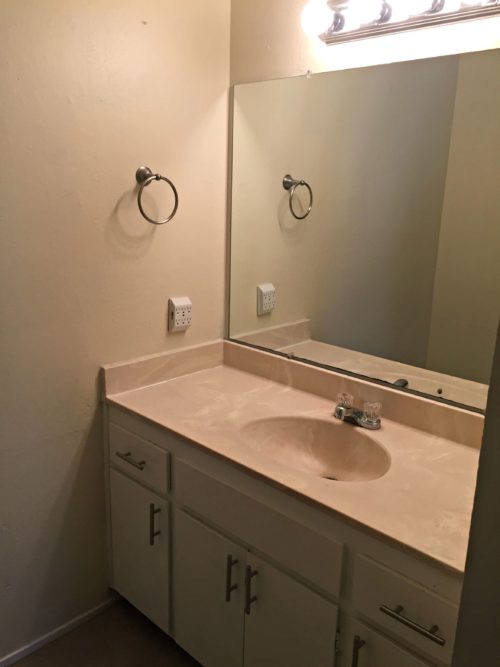
Overall, the master bath is not bad, just outdated. Again, more carpeting in front of the sink, and see that thing plugged into the wall that makes it look like you can plug in TONS of electrical devices? Well, you can’t. That outlet was completely burnt up!
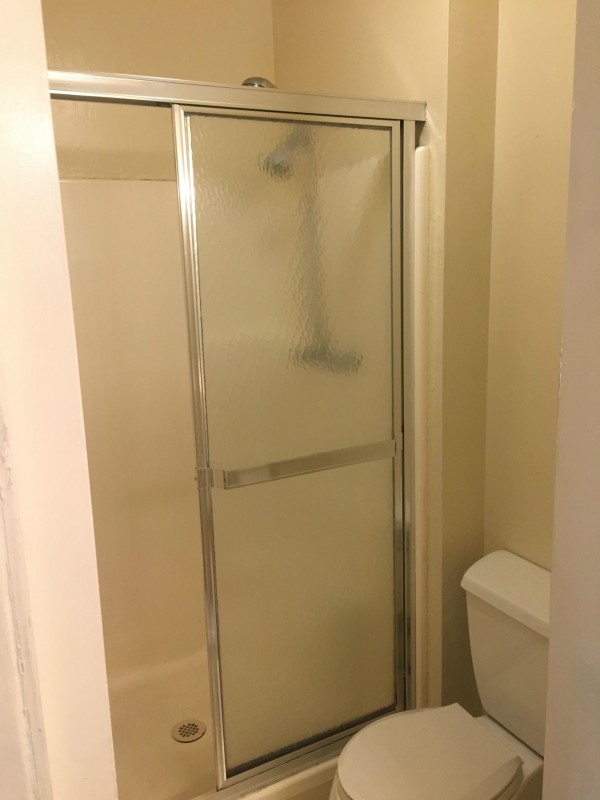
There’s a pocket door separating the sink area from the toilet and shower area which is also broken. We have plans to remove it and replace it with something much cooler though. And yeah, we’re totally going to get rid of that plastic surround and the glass door thing as well.
As I write this, we have currently painted the entire interior, replaced the flooring in every room besides the kitchen and the master bath, painted and installed new baseboard, patched countless holes, and upgraded the dishwasher and the thermostat.
If you haven’t already, you may want to read my post on Choosing Paint Colors where I talked about the colors we chose and even had a few pictures of the color testing on the walls.
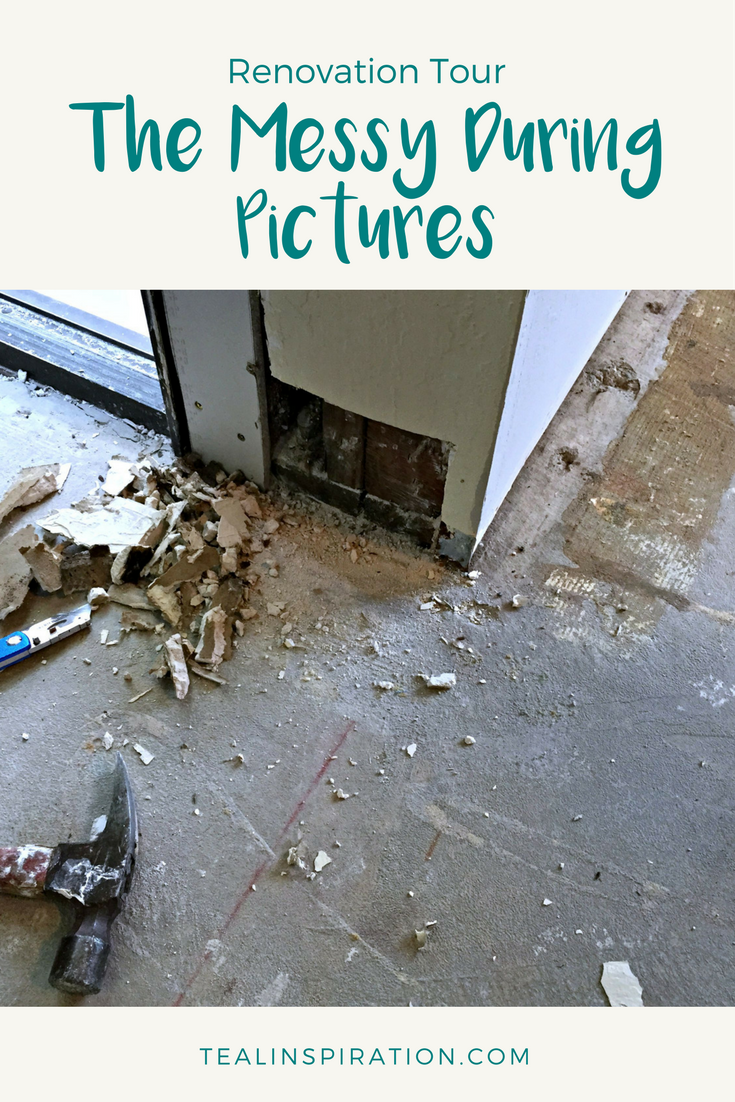
We still have a lot to do to make it cute and cozy, but it’s come a long way in a short time and I’m really seeing that now as I look at these pre renovation pictures. I’m really excited to get to the progress photos even though I have to warn you, it had to start looking much worse before it started looking better!
It’s very much worth it though and I know that when we finally get to a point where we will have true AFTER photos, you’ll agree.