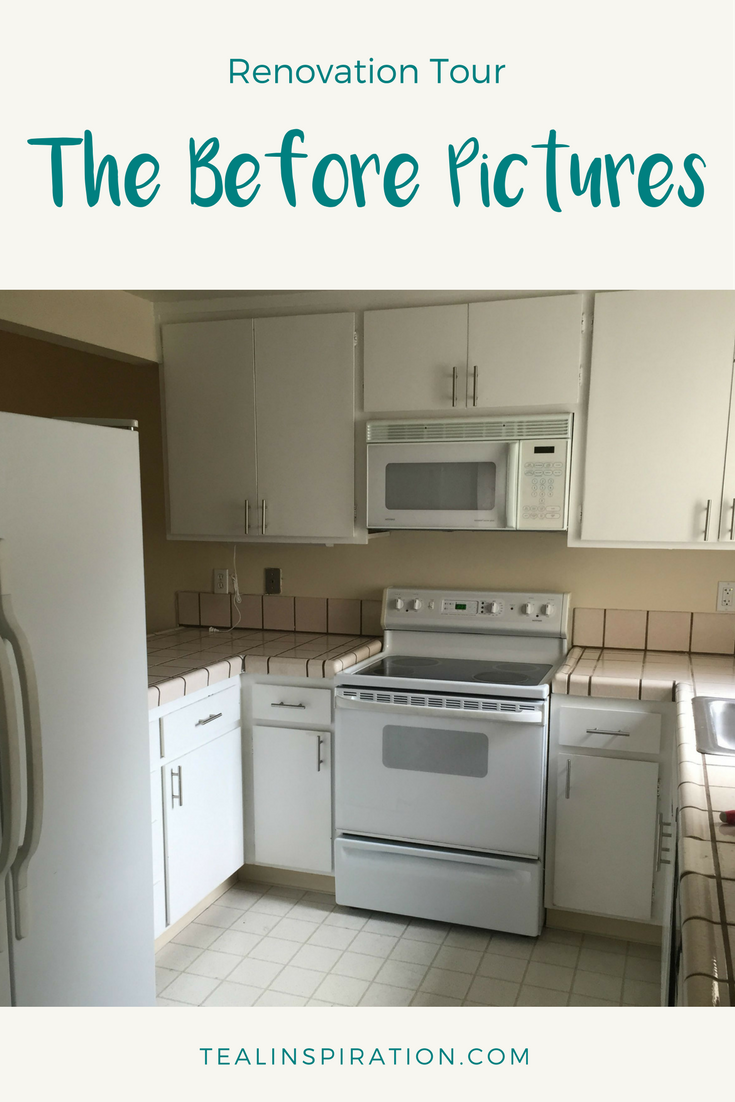
Isn’t it funny how we always wait until we’re moving to make improvements to our home that we intended to make a long time ago?
*This post contains affiliate links which help me keep my blog up and running. You can check out my disclosure policy for more details.
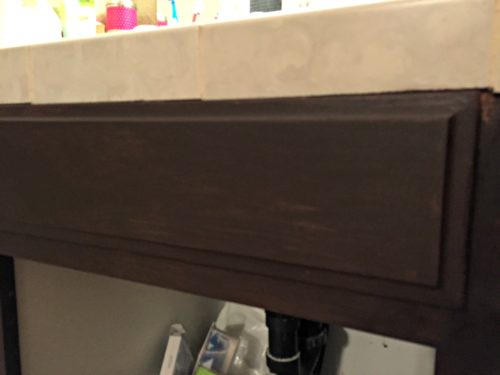
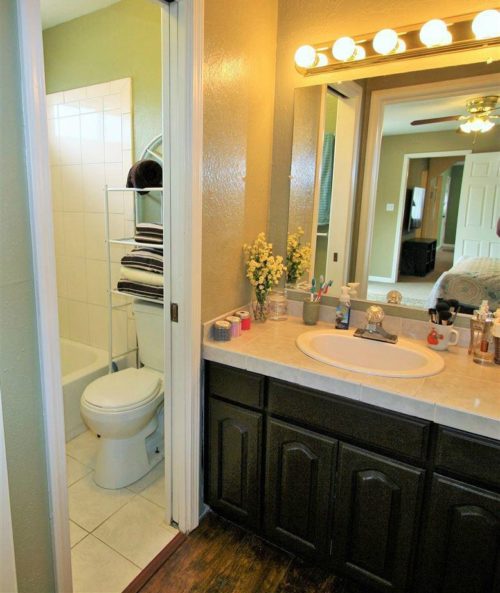
Well, we re-painted our kitchen cabinets a couple years ago and the vanity in our main bathroom maybe six months ago. But we never did our master bathroom vanity. So, until last Monday, it was still looking like this:
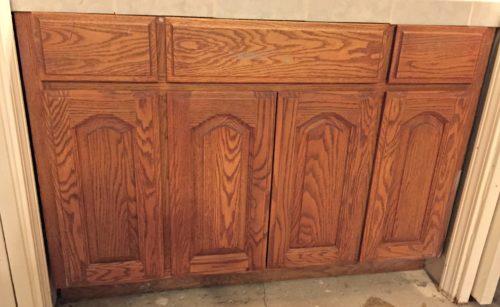
It’s beautiful. I know.
And now that we’re moving, we’re finding all sorts of things we left unfinished in our current house that have to be fixed before we can sell it. Exciting, right?
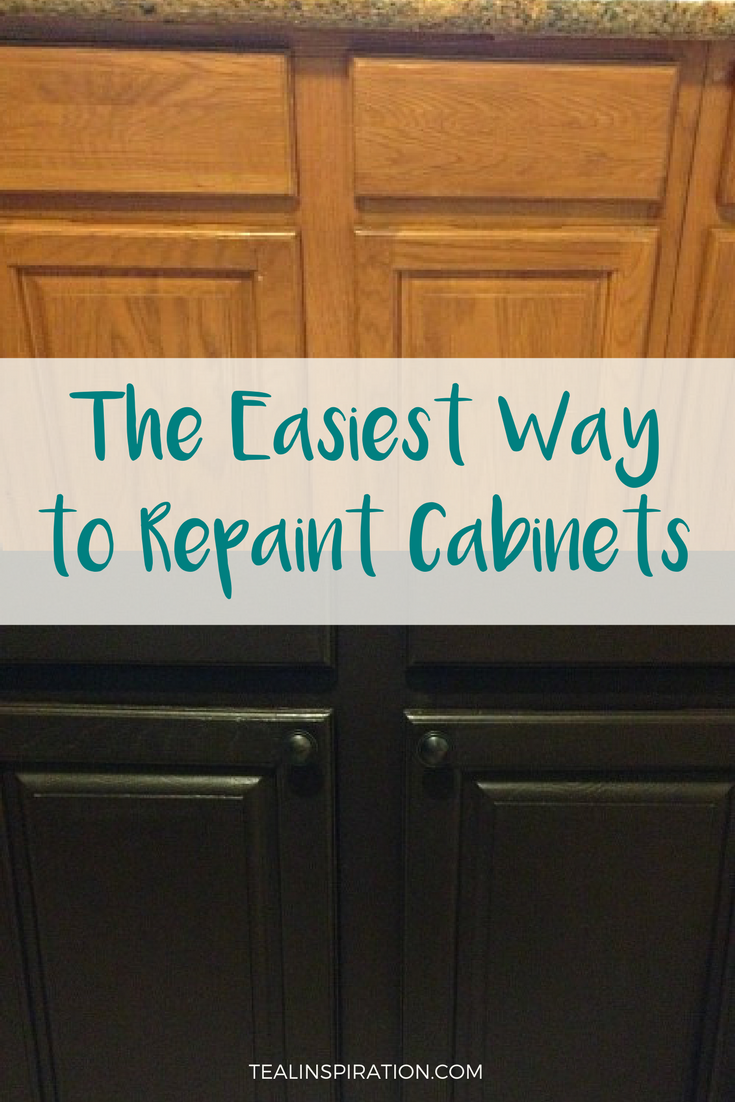
I’ll be getting to some of those other things in future posts. For now, you may remember an earlier post that I did about The Easiest Way to Repaint Cabinets, which could be considered Part One of this post. You can find that HERE.
I love the Rustoleum Cabinet Transformations Kit. It comes in both light and dark base colors which you can have tinted to the exact shade you want.
Anyway, for this bathroom cabinet, I used the same color that I used on the previous cabinets, Espresso. And of course, the first thing you’ll want to do is take off the doors.
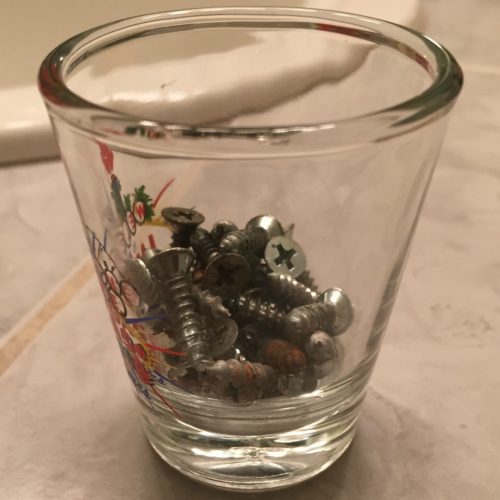 Make sure to save all of the screws (and hinges) in a container of some sort so that they don’t get lost before it’s time to put your cabinet back together.
Rustoleum Cabinet Transformations is a 4-step kit. Deglosser, Bond Coat, Decorative Glaze and Protective Top Coat. You can read more about each of these in my previous post.
After applying the deglosser to clean and rough up the surfaces of the cabinets and doors, you’ll apply the bond coat.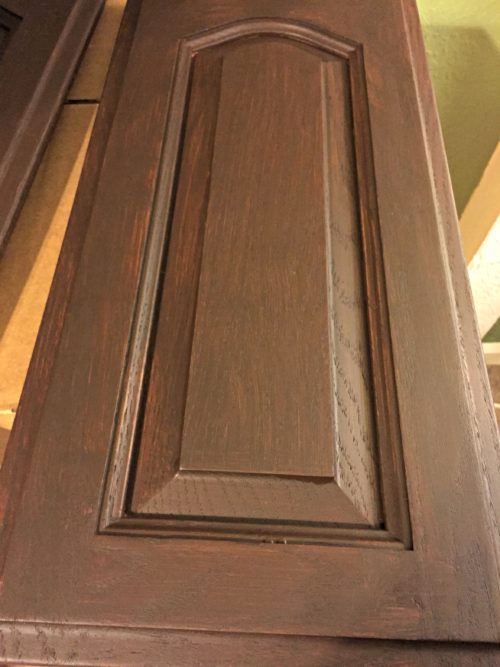
Isn’t it beautiful? Well, maybe not yet. It does get two coats of this stuff. Just make sure to let it dry in between coats and before flipping the doors over to paint the backside.
A bit blurry here, but you get the idea.

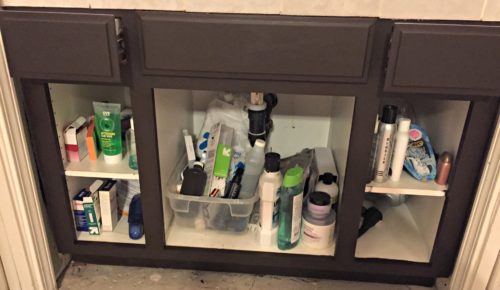 Once the second coat is applied, you’ll start to be impressed with you work. Just ignore the mess that is my under-bathroom-sink.
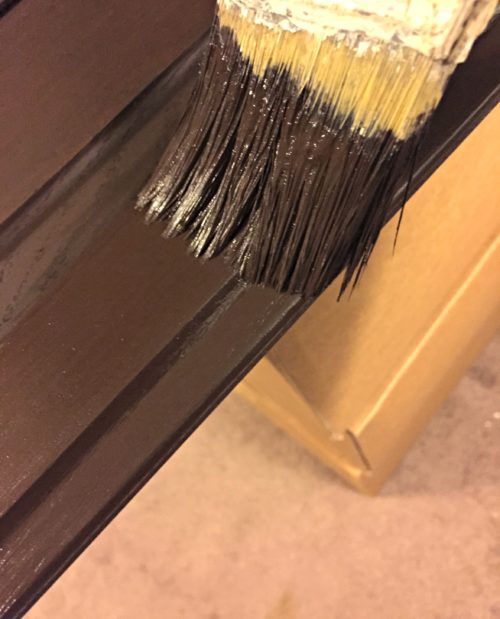
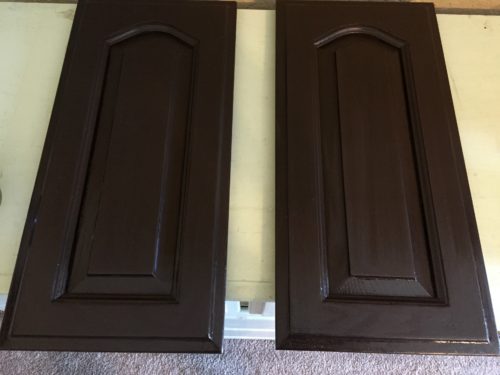
Next you’ll begin applying the Decorative Glaze. Be sure to apply and wipe off in the direction of the wood grain! This is very important for giving that professional look.
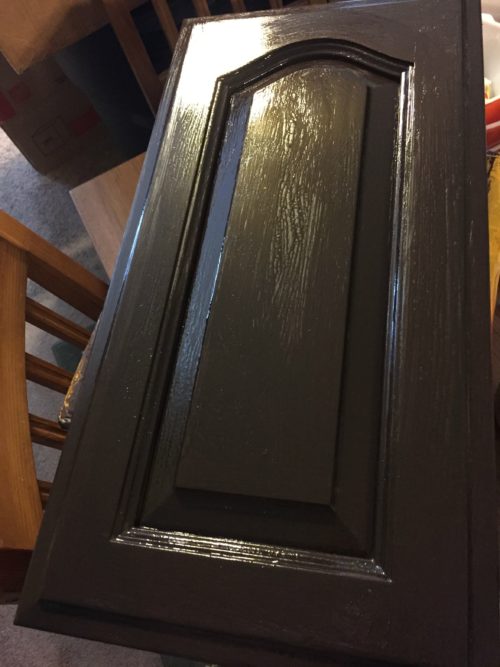
Before you wipe the glaze off, it should look something like this. The amount you wipe off is totally up to you and the desired look you’re going for. What I did was use a gentle downward swipe of the rag to wipe off just enough of the glaze to leave a nice, multi-faceted finish so the paint doesn’t look as though it’s only one flat tone of paint.

Gentle swiping in the direction of the wood grain for best results.
Now, the glaze needs to dry for about 8 hours before the protective top coat can be applied. You don’t want to rush that because you’ll end up just removing the layers you just applied and that’s not going to be pretty. The top coat is not the easiest to work with. It has the consistency of Elmer’s Glue but it’s so worth it to have cabinets that have a durable, water-safe finish.
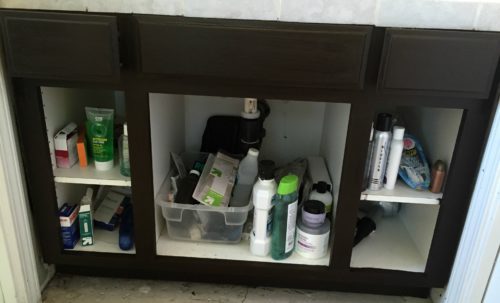
Again, ignore the mess under my sink, but the cabinets themselves are looking good, right?
Once the protective top coat has dried, preferably overnight, you can put your beautiful cabinet back together and bask in how brand new it looks.
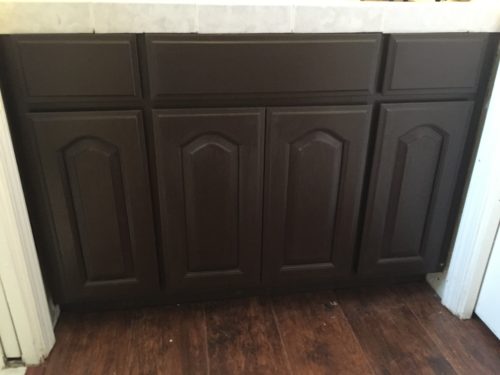
 You might have noticed the new floor in the pictures as well. The credit for that allll goes to my dad. I’m very happy with the results of this project though.
If you have any questions, leave them for me in the comments below!